
みなさんこんにちは、現役エンジニアのサメハックです
未経験からWebエンジニアに転職し、
正社員として5年働いたのちフリーランスとして独立しました。
Angularの解説シリーズです。
今回はOpenLayersをインストールする方法について学んでいきましょう!
駆け出しエンジニアや未経験の方、
また新入社員を指導する先輩社員にとっても
わかりやすいように解説していきます!
この記事を読むと・・・
- OpenLayersのインストールができる
- サンプルコードがダウンロードできる
※PCにnpm、nodeがインストールされている前提で記述します。
yarn等をお使いの方は読み替えてください。
作りたいもの

これが今回の完成形だよ!
実行環境
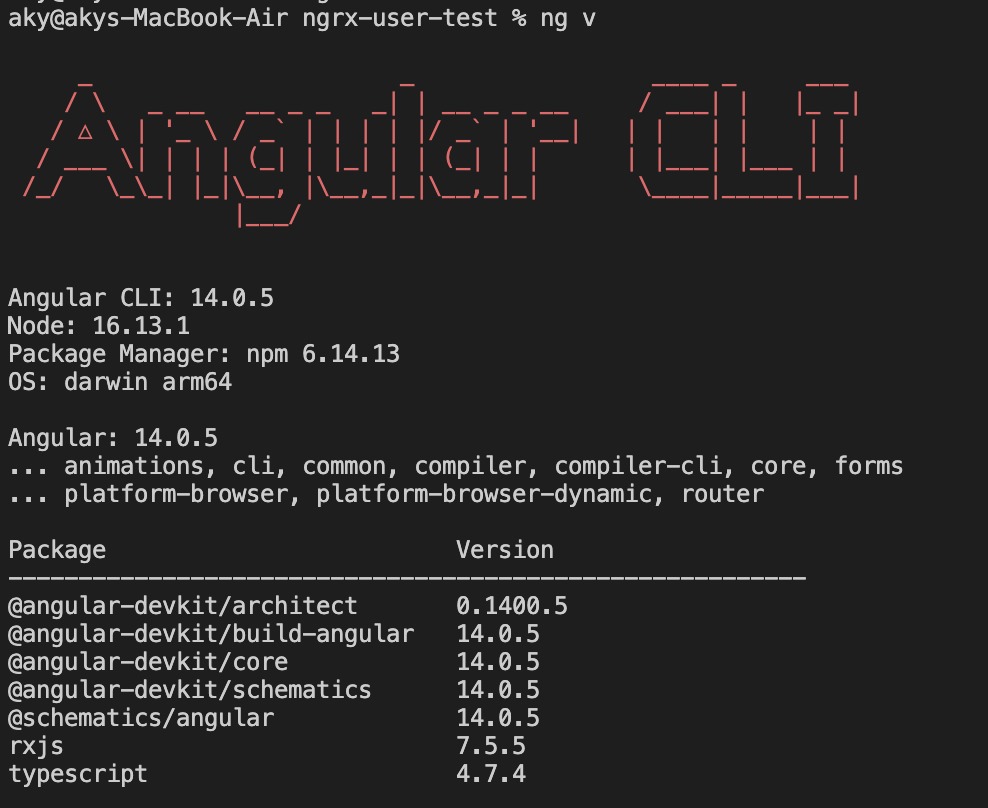
Angularのバージョンが古いと動かないことがあるよ!
うまく動かなければアップデートしてね!
うまく動かなければアップデートしてね!
初期設定:OpenLayersのインストール
ng new my-app
cd my-app
npm install ol
ng serve -o
npm install ol
がOpenLayersのインストールコマンドだよ!
がOpenLayersのインストールコマンドだよ!
OpenLayersの構文

this.map = new Map({
  target: 'HTMLのid',
  layers: [
    new Tile({
      source: 表示するマップ,
    }),
  ],
  view: new View({
    center: fromLonLat([経度, 緯度]),
    zoom: ズーム倍率,
  }),
});
OpenLayersを使って地図を表示しよう!

app.component.html
<!--マップ-->
<div id="map"></div>
ここにMapが表示されるよ!
app.component.scss
// マップのサイズ
#map {
  width: 50vw;
  height: 70vh;
}
app.component.ts
import { Component, OnInit } from '@angular/core';
import { Map, View } from 'ol';
import { fromLonLat } from 'ol/proj';
import { Tile } from 'ol/layer';
import OsmSource from 'ol/source/OSM';

@Component({
  selector: 'app-root',
  templateUrl: './app.component.html',
  styleUrls: ['./app.component.scss'],
})
export class AppComponent implements OnInit {
  map!: Map;

  ngOnInit() {
    this.map = new Map({
      // HTMLのidを指定して描画
      target: 'map',
      layers: [
        new Tile({
          // 表示するマップ
          source: new OsmSource(),
        }),
      ],
      view: new View({
        // 表示する座標
        center: fromLonLat([139.7017, 35.6581]),
        // ズーム倍率
        zoom: 18,
      }),
    });
  }
}
angular.json※重要
{
  "$schema": "./node_modules/@angular/cli/lib/config/schema.json",
  "version": 1,
  "newProjectRoot": "projects",
  "projects": {
    "my-app": {
      "projectType": "application",
      "schematics": {
        "@schematics/angular:component": {
          "style": "scss"
        }
      },
      "root": "",
      "sourceRoot": "src",
      "prefix": "app",
      "architect": {
        "build": {
          "builder": "@angular-devkit/build-angular:browser",
          "options": {
            "outputPath": "dist/my-app",
            "index": "src/index.html",
            "main": "src/main.ts",
            "polyfills": "src/polyfills.ts",
            "tsConfig": "tsconfig.app.json",
            "inlineStyleLanguage": "scss",
            "assets": ["src/favicon.ico", "src/assets"],
            "styles": [
                "src/styles.scss",
                // ↓これを追記
                "node_modules/ol/ol.css"
            ],
            "scripts": []
          },
          "configurations": {
            "production": {
              "budgets": [
                {
                  "type": "initial",
                  "maximumWarning": "500kb",
                  "maximumError": "1mb"
                },
                {
                  "type": "anyComponentStyle",
                  "maximumWarning": "2kb",
                  "maximumError": "4kb"
                }
              ],
              "fileReplacements": [
                {
                  "replace": "src/environments/environment.ts",
                  "with": "src/environments/environment.prod.ts"
                }
              ],
              "outputHashing": "all"
            },
            "development": {
              "buildOptimizer": false,
              "optimization": false,
              "vendorChunk": true,
              "extractLicenses": false,
              "sourceMap": true,
              "namedChunks": true
            }
          },
          "defaultConfiguration": "production"
        },
        "serve": {
          "builder": "@angular-devkit/build-angular:dev-server",
          "configurations": {
            "production": {
              "browserTarget": "my-app:build:production"
            },
            "development": {
              "browserTarget": "my-app:build:development"
            }
          },
          "defaultConfiguration": "development"
        },
        "extract-i18n": {
          "builder": "@angular-devkit/build-angular:extract-i18n",
          "options": {
            "browserTarget": "my-app:build"
          }
        },
        "test": {
          "builder": "@angular-devkit/build-angular:karma",
          "options": {
            "main": "src/test.ts",
            "polyfills": "src/polyfills.ts",
            "tsConfig": "tsconfig.spec.json",
            "karmaConfig": "karma.conf.js",
            "inlineStyleLanguage": "scss",
            "assets": ["src/favicon.ico", "src/assets"],
            "styles": ["src/styles.scss"],
            "scripts": []
          }
        }
      }
    }
  }
}
// これを追記
という行は削除してね!
という行は削除してね!
"node_modules/ol/ol.css"を追記しないとコンパイルエラーとなるよ!
動かしてみよう
ng serve -o 
これで同じものが出来上がるよ!
GitHubのサンプルコード
今回作ったものはGitHubにあげているので
使いたい人は是非ダウンロードしてみてください。
GitHub - same-hack/Angular_OpenLayers: Angularを使ったOpenLayersの使い方
Angularを使ったOpenLayersの使い方. Contribute to same-hack/Angular_OpenLayers development by creating an account on GitHub.
github.com
満足いただけたら、1クリックなのでSNSフォローしてもらえると嬉しいです🦈

